The instructions below will guide you in managing your permit on the Parking Portal.

1. Go to the Parking Portal.
2. Click LOGIN in the upper right-hand corner.
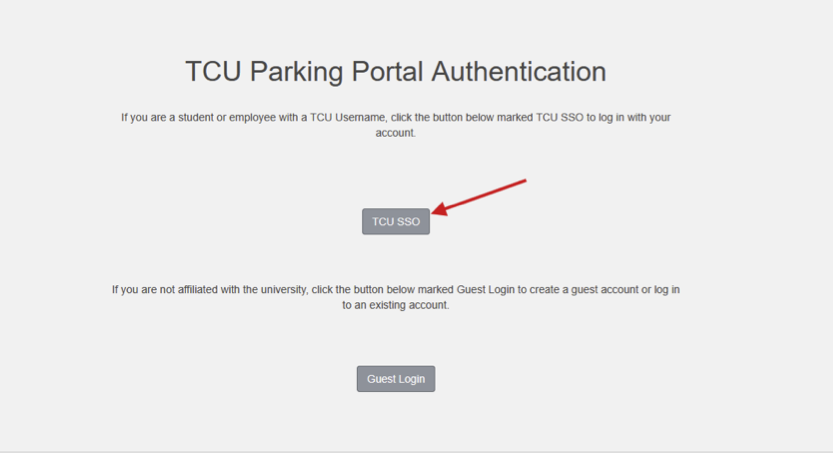
3. If you are a student or faculty/staff member, click on TCU SSO. If you are not affiliated with TCU, click on Guest Login.

4. Once logged in, click PERMITS at the top of the screen. Then click View Your Permits.

5. Click on your permit number.

6. Click Add Vehicles To Permit.

7. If you have not added any vehicles to your account or need to add an additional vehicle, click Add a new vehicle. If you have already added a vehicle to your account but need to link it to your permit, skip to step 9.
Please note: Commuters and Employees can link up to 2 vehicles to their “permit” they just cannot be parked on campus at the same time. Residential Students may only have one vehicle linked to their “permit” at a time. If you have reached the vehicle limit for your permit, a vehicle will have to be removed prior to attaching a new vehicle to the “permit”. The removed vehicle will stay on your account and can be added back to the permit if using a rental or temporary.

8. Enter your vehicle information.

9. Check the box(es) for the vehicle(s) that you would like to link. Then click Add the selected vehicle.

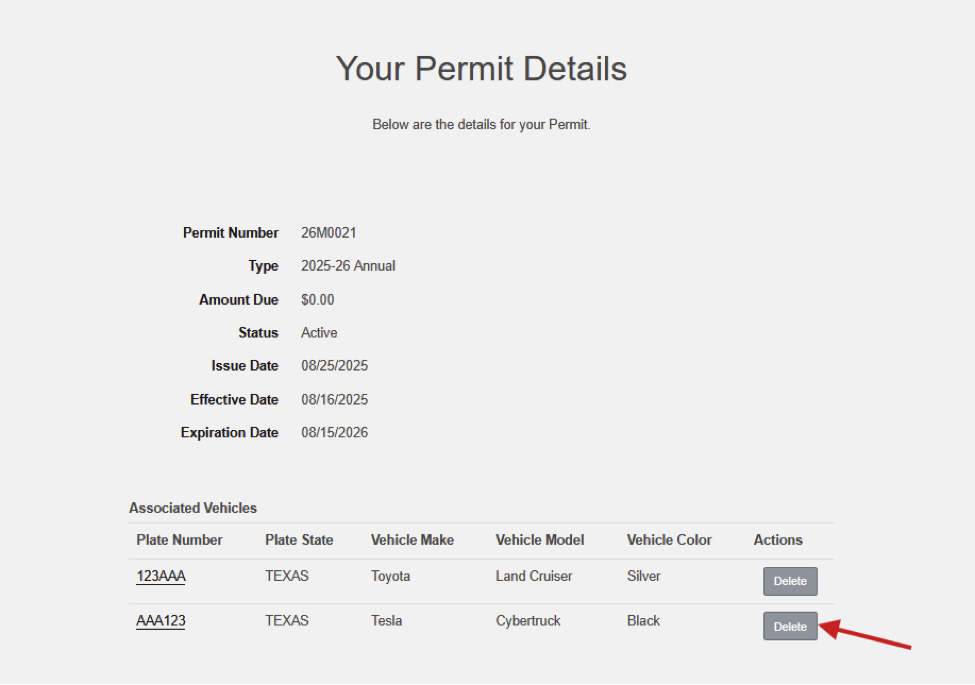
10. You should now see the license plate number(s) listed on Your Permit Details page under Associated Vehicles.
If you encounter any issues or problems updating your vehicle on the TCU parking portal please Contact us for assistance or questions.